
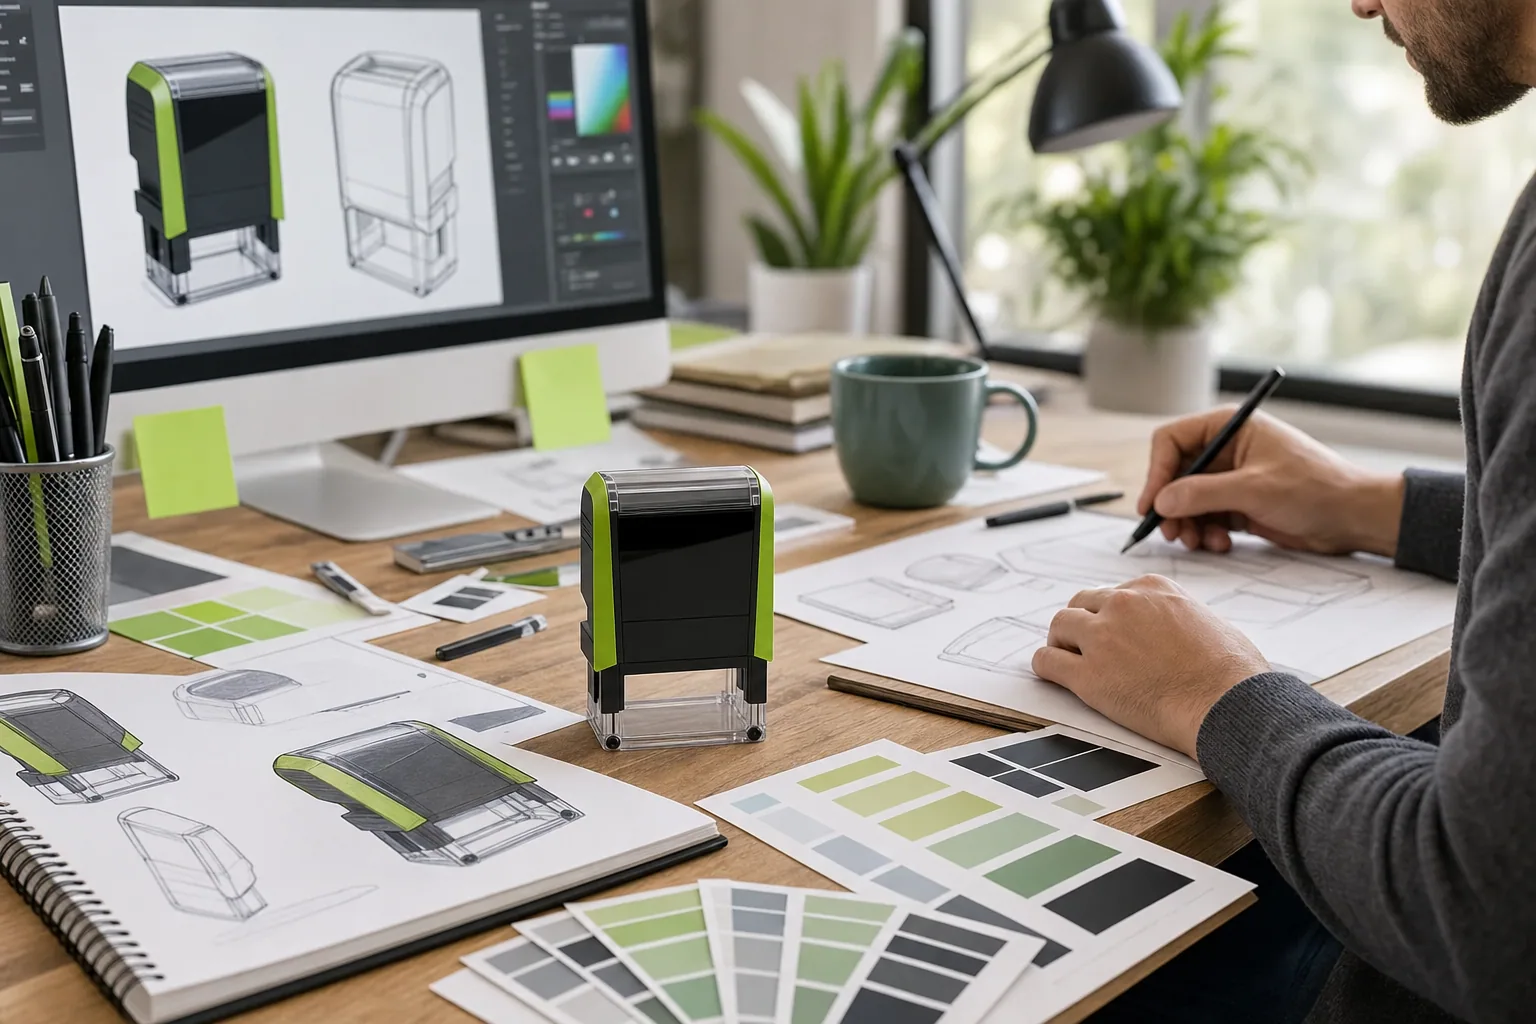
Creating your own custom rubber stamp is one of the best ways to save time on repetitive tasks while adding a professional touch to your documents, packages, or correspondence. Whether you need a signature stamp for business, a personalized address stamp for your envelopes, or a branded stamp for your small business, designing a custom rubber stamp is easier than you might think.
This guide walks you through the entire process of designing a custom stamp that meets your needs and looks polished from day one.
Start With a Clear Purpose
Before you dive into design, know exactly what your stamp needs to do. Will it mark invoices as paid? Add your return address to envelopes? Authenticate documents with your signature? Notarize paperwork according to state requirements?
Your stamp's purpose determines several factors:
- Size and shape (rectangular stamps work well for addresses, round stamps suit signatures and notary seals)
- Text content and number of lines
- Whether you need a logo, border, or just clean typography
- Which ink color will show up best on your typical paper
Taking five minutes to define your stamp's job makes the design process straightforward and prevents costly revisions later.
Choose Your Stamp Type and Size
Creative Rubber Stamps offers two main paths when you make your own rubber stamp: custom self-inking stamps and stock self-inking stamps with pre-made messages.
For a truly personalized design, a custom self-inking stamp gives you complete control. These stamps don't require an external ink pad, so they're cleaner and more economical than traditional options. Self-inking stamps also deliver the consistent, crisp impressions you need whether you're stamping one envelope or a hundred documents.
When you design your custom stamp, think about the impression size you need. Larger stamps work for addresses and logos. Smaller stamps suit signatures and quick approvals. Most customers find that a stamp measuring 1.5 x 2 inches or 2 x 3 inches covers most daily needs, though custom dimensions are available.
Plan Your Text and Layout
Now comes the creative part. At Creative Rubber Stamps, custom self-inking stamps support up to nine lines of content, giving you plenty of flexibility.
Here's how to approach your layout:
- Write out exactly what you want the stamp to say
- Decide which information is most important (this goes at the top or center)
- Choose a logical reading order: name first, then title, then business name, then contact details, for example
- Consider your stamp's dimensions and avoid cramming too much text into too little space
- Leave breathing room around the edges so the entire message prints clearly
If you're creating a signature stamp, upload a clean digital image of your handwritten signature. The design team at Creative Rubber Stamps will handle the rest, turning your signature into a stamp that looks professional and authentic.
For text-based stamps, select fonts and text sizes that match your brand or style. Clean, readable fonts always work best for stamps because they survive thousands of impressions without degrading.
Work With Artwork and Logos
Don't settle for text alone. Adding a logo, border, or decorative element transforms a simple stamp into a branded tool that represents your business.
When you design custom stamps with artwork, Creative Rubber Stamps includes customization at no extra charge. You can upload your existing logo, have the design team refine it, or work with them to create something entirely new.
A few tips for artwork that stamps well:
- Keep line weights consistent so fine details don't fade after repeated impressions
- Avoid very intricate designs; simple, bold graphics print clearer than delicate details
- If you're unsure whether your artwork will translate to a stamp, Creative Rubber Stamps provides a preview before you purchase, so you can see exactly how it will look
- Use contrasting colors for maximum visibility
Select Your Ink Color
Ink color matters more than you might think. Red and black are timeless choices, but Creative Rubber Stamps offers a variety of colors so your stamp stands out or blends into your workflow as needed.
Consider your typical document color when choosing ink. Black works on nearly every paper. Red draws attention, perfect for urgent or approved stamps. Blue offers a professional alternative. Green, purple, and other colors add personality and help stamps from different users or departments stay organized.
Remember that your stamp will make thousands of impressions, so choose a color that won't fade or look unprofessional after weeks of daily use.
Review Your Design Before Purchase
One of the smartest features when you create a custom rubber stamp through Creative Rubber Stamps is the preview process. Before you commit to your order, you'll see exactly how your stamp will look.
Use this preview to catch any typos, check that your layout balances well, and confirm that your logo translates properly from digital design to stamp format. This single step prevents frustration and ensures your stamp arrives ready to use.
If you want changes after seeing the preview, the design team can adjust fonts, sizing, spacing, or artwork without penalty. This is the time to speak up if something doesn't feel quite right.
Place Your Order and Start Stamping
Once you've approved your design, ordering is simple. Creative Rubber Stamps offers free shipping on orders over $50, so larger custom stamp orders arrive at your door without extra cost.
When your stamp arrives, test it on a few sheets of scrap paper first. Self-inking stamps work best with a light touch: press straight down, hold briefly, and release. After a few practice stamps, you'll develop a rhythm.
Your custom rubber stamp is built to last. These stamps deliver clean, crisp impressions for thousands of uses, and when the ink eventually runs low, refill ink for Ideal and Trodat brand stamps keeps your stamp working for years to come.
Final Thoughts
Designing your own custom rubber stamp takes far less time and effort than you might expect. By starting with a clear purpose, planning your text layout, adding artwork if needed, choosing the right ink color, and reviewing your design before purchase, you'll end up with a professional tool that saves you time every single day. Whether you're processing invoices, mailing packages, or authenticating documents, the right stamp becomes an essential part of your workflow. Head over to Creative Rubber Stamps today to create your custom stamp and start enjoying cleaner, faster document handling.